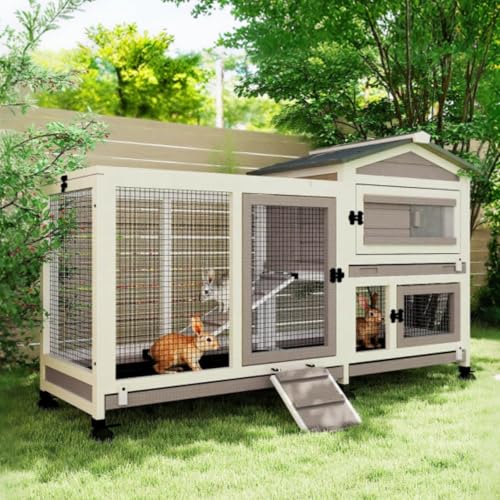
If you have ever watched your guinea pigs zoom around their cage, popcorn with joy, or burrow into a corner for a nap, you know how much they value a good hideout. A wooden guinea pig house is not just a decoration, it is a necessity for their sense of security and well-being. While you can buy a ready-made option like those in our Need a Chew-Proof Hideout for Your Guinea Pig? guide, building one yourself lets you customize the size, shape, and wood type to perfectly fit your cage and your piggies’ personalities. Plus, it is a rewarding weekend project that saves you money. Let us walk through exactly how to build a safe, sturdy, and cozy wooden house for your herd.
Choosing the Right Wood and Materials
The most important step is picking safe wood. Guinea pigs love to chew, so you must avoid any wood that is toxic or treated with chemicals. Safe choices include kiln-dried pine, aspen, birch, poplar, and plywood that is labeled as pet-safe (no formaldehyde glues). Never use cedar, redwood, pressure-treated lumber, or any wood with a strong smell, as the oils can cause respiratory issues. You will also need non-toxic wood glue (like Titebond III), stainless steel or zinc-plated screws (or brad nails), and sandpaper. For the floor, consider a removable tray made from coroplast or linoleum for easy cleaning. If you want to add a cozy interior, you can pair the house with a soft bed from our Top 5 Guinea Pig Cages guide, which often includes bedding recommendations.
Measuring and Designing the Perfect Size
Guinea pigs need enough space to turn around, stretch out, and stand up inside their house. A good rule of thumb for two to three guinea pigs is a house that is at least 12 inches wide, 10 inches deep, and 8 inches tall. If you have a larger herd or want a multi-room design, scale up accordingly. Sketch your design on paper first, including at least two openings (one for entry, one for an emergency exit) so no piggy ever feels trapped. The openings should be about 4 to 5 inches wide and 4 inches tall, which is large enough for most adult cavies. Measure your cage space before cutting to ensure the house fits without blocking food bowls or water bottles. You can find great cage layout ideas in our Buying Guide: Best Guinea Pig Hide Houses, which shows popular dimensions for commercial houses that you can adapt.
Cutting and Assembling the Pieces
Once you have your wood and measurements, cut the following pieces using a saw (a jigsaw or circular saw works well): two side walls, a front wall, a back wall, a roof, and an optional floor. Sand all edges and surfaces thoroughly to remove splinters, especially around the doorways. Guinea pigs have sensitive feet, so a smooth finish is crucial. Assemble the walls first using wood glue and screws. Pre-drill holes to prevent the wood from splitting. Attach the roof last, making it removable by using hinges or simply setting it on top with a lip, so you can easily clean inside. If you add a floor, make it a separate tray that slides out for quick wipe-downs. For extra fun, carve a small window or add a ramp to a second level, but keep it simple for your first build.
Guinea pigs are naturally prey animals, so they feel safest in hideouts with two exits. This allows them to escape if they sense danger, even from a cagemate. Always include at least two openings in your design to keep your piggies feeling secure and stress-free.
Adding Safety Features and Chew-Proofing
To make your house truly chew-proof, reinforce the edges of the doorways with a strip of untreated pine or a metal corner guard (make sure it is smooth and cannot be ingested). Avoid using paint or varnish, as most contain toxic chemicals. If you want color, use a pet-safe, water-based stain or leave the wood natural. Check the house weekly for loose screws, sharp edges, or excessive chewing that could create splinters. Replace any damaged parts immediately. Also, ensure the house is stable and cannot tip over, especially if you have energetic piggies who love to zoom around. A heavy base or attaching the house to the cage floor with zip ties can prevent accidents.
“A handmade wooden house is more than a shelter, it is a castle your guinea pigs will claim as their own, gnawing it with love and napping in every corner.”
Cleaning and Maintenance Tips
Wood is porous and can absorb urine and odors, so regular cleaning is essential. Line the inside with a washable fleece pad or a disposable paper liner to protect the wood. Every week, remove the house and scrub it with a mixture of white vinegar and water (50/50) to disinfect and neutralize smells. Rinse well and let it dry completely in the sun before putting it back. If the wood starts to smell despite cleaning, you can lightly sand the interior and reapply a pet-safe sealant like beeswax. Avoid using bleach or harsh chemicals, as they can linger and harm your pets. For feeding time, place their bowls outside the house to prevent food from getting trapped in crevices. Our Expert-Recommended Guinea Pig Pellet Food for Healthy Pets guide can help you choose a diet that keeps your piggies healthy and their house cleaner.
Personalizing the House for Your Herd
Once the basic house is built, you can customize it to match your guinea pigs’ preferences. Add a small hay rack on the side, a wooden ramp leading to a loft, or a tunnel attachment that connects to another hideout. You can also carve their names into the roof or paint it with non-toxic, water-based paint. Just remember that anything you add must be chew-safe and free of small parts that could be swallowed. Observe your piggies after introducing the new house, some may take a few days to explore it fully, while others will move in immediately. If they ignore it, try placing some hay or a favorite treat inside to encourage them. Building your own wooden guinea pig house is a labor of love that pays off in happy, healthy pets and a beautiful, functional addition to their habitat.