If you keep fish, you already know that the water from your tap is not the same as the water in a healthy aquarium. City water treatment plants add chlorine and chloramines to kill harmful bacteria, which is great for humans but deadly for fish. Chlorine damages gill tissue and can cause rapid death if you add untreated water to your tank. The good news is that lowering chlorine is straightforward once you understand your options. Here is how to make your tap water safe for fish, step by step.
Why Chlorine in Tap Water Is Dangerous for Fish
Chlorine is a powerful oxidizer. When it enters a fish’s bloodstream through the gills, it burns delicate tissue and interferes with oxygen exchange. Even low levels can cause stress, making fish more vulnerable to disease. Chloramines, a combination of chlorine and ammonia, are even more persistent and require a dechlorinator that specifically breaks them down. Unlike a natural pond or spring, city tap water is chemically treated, and your fish have no defense against it. You must remove both chlorine and chloramines before the water ever touches the aquarium.
Method 1: Use a Liquid Water Conditioner (Dechlorinator)
The quickest and most reliable way to remove chlorine is to use a liquid water conditioner, also called a dechlorinator. These products, available at any pet store, neutralize chlorine and chloramines instantly. You simply add the recommended dose to your bucket of tap water before adding it to the tank. Most conditioners also bind heavy metals and add a protective slime coat for stressed fish. For a busy fish keeper, this is the best method. If you travel often or have a busy schedule, you might also appreciate the convenience of an WiFi fish feeder comparison to keep your fish fed while you are away, but never skip the dechlorinator step before water changes.
Method 2: Let the Water Age (Aeration and Evaporation)
You can also remove chlorine by aging the water. Fill a clean bucket or container with tap water and let it sit uncovered for 24 to 48 hours. Chlorine will naturally evaporate into the air. To speed this up, use an air stone or a small powerhead to agitate the water surface. This method works well for chlorine alone, but it does not remove chloramines, which are much more stable. If your city uses chloramines, you must still use a dechlorinator. For fish with sensitive skin or long fins, aging water can also help stabilize temperature and pH before you add it to the tank.
Boiling water for 15 minutes will remove chlorine, but it concentrates minerals and can raise the temperature dangerously. It is not practical for large tanks and does not remove chloramines. Stick to a liquid conditioner for safety.
Method 3: Activated Carbon Filtration
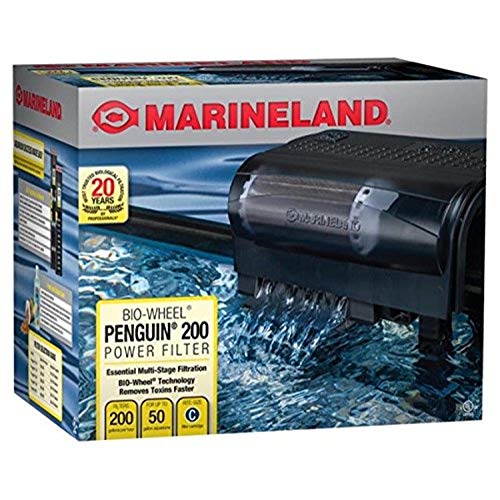
Activated carbon filters, often used in canister filters or hang-on-back units, can remove chlorine from water as it passes through. However, this is more effective for small amounts of chlorine in already treated water, not for direct tap water refills. Carbon filters also need to be replaced regularly because they become saturated. For a primary water source, a whole-house carbon filter or a dedicated aquarium reverse osmosis unit can remove chlorine, chloramines, and other contaminants. This is a bigger investment but gives you complete control over water chemistry.
Method 4: Use a Vitamin C Neutralizer
Vitamin C, specifically ascorbic acid or sodium ascorbate, can neutralize chlorine and chloramines. It is a gentle method often used by breeders who want to avoid synthetic chemicals. You can buy powdered vitamin C and add a small pinch to your water bucket. A general guideline is 1 teaspoon of powdered ascorbic acid per 1,000 gallons, but for a standard 5-gallon bucket, a tiny pinch is enough. Be careful not to overdose, as too much vitamin C can lower pH. This method is useful if you run out of commercial dechlorinator, but it is less consistent than a dedicated conditioner.
“The best water for your fish is the water you treat before it ever touches the tank, not the water you fix after.”
Testing Your Water After Treatment
After you treat your tap water, always test it before adding it to the aquarium. Use a simple chlorine test kit or test strips to confirm the level is at zero. Even if you use a dechlorinator, a quick test gives you peace of mind. If you have a community tank with sensitive species like tetras or discus, testing is especially important. And while you are caring for your fish, you might also be thinking about other pets in your home. For example, if you have a long-coated dog, you can check out the best fish oil for shiny fur to support their coat health. Just remember that fish and dogs have very different water needs.
Common Mistakes to Avoid
- Not treating for chloramines: Many dechlorinators only remove chlorine. Check the label to make sure it says “removes chloramines.”
- Adding fish too soon: Even after treatment, wait a few minutes for the conditioner to fully mix before adding fish.
- Using hot water: Hot water from the tap can leach copper from pipes. Always use cold tap water for your aquarium.
- Skipping a test: Trust but verify. A quick test strip can save your fish from a sudden chlorine spike.
Final Tips for Safe Water Changes
Make water changes a calm, predictable routine. Fill a dedicated bucket, add your dechlorinator, let it sit for a minute, then slowly pour it into the tank. Avoid splashing or disturbing the substrate. If you have a large tank, consider a Python water changer that connects to your faucet and treats water as it flows in. For automated feeding while you focus on water quality, a reliable automatic fish feeder can help maintain consistent feeding schedules. Always keep a spare bottle of dechlorinator on hand, because running out is the most common reason for accidental chlorine exposure. Your fish will thank you with bright colors, active swimming, and a long, healthy life.